Gluten-Free Sourdough Bread (Detailed Method)
Overview
This recipe uses a gluten-free sourdough starter instead of commercial yeast. Since gluten-free dough behaves more like a thick batter than elastic dough, the process is different from traditional sourdough.
PART 1: Gluten-Free Sourdough Starter
Ingredients (Starter)
- 1 cup brown rice flour (or sorghum flour)
- 1 cup filtered water
Day-by-Day Instructions
Day 1
- Mix 1 cup flour + 1 cup water in a glass jar.
- Stir well until smooth.
- Cover loosely (not airtight).
- Leave at room temperature (22–28°C).
Day 2
- You may see a few bubbles.
- Discard half of the mixture.
- Add:
- ½ cup flour
- ½ cup water
- Stir and cover again.
Day 3–7
- Repeat feeding daily:
- Discard half
- Add ½ cup flour + ½ cup water
- By Day 5–7:
- Starter should be bubbly
- Slightly sour smell
- Expands after feeding
Starter Ready When:
- Doubles in size within 4–6 hours after feeding
- Smells tangy (not rotten)
PART 2: Gluten-Free Flour Blend
Ingredients
- 1 cup brown rice flour
- 1 cup sorghum flour
- ½ cup tapioca starch
- ½ cup potato starch
Mix thoroughly and store airtight.
PART 3: Bread Dough
Ingredients
- 2 cups gluten-free flour blend
- 1 cup active sourdough starter
- 1 cup warm water (adjust as needed)
- 1 tablespoon psyllium husk powder (very important for structure)
- 1 teaspoon salt
- 1 tablespoon olive oil (optional)
- 1 teaspoon honey or sugar (optional, helps fermentation)
PART 4: Mixing the Dough
- In a small bowl:
- Mix psyllium husk with warm water
- Let sit 5–10 minutes until gel forms
- In a large bowl:
- Add flour blend and salt
- Mix well
- Add:
- Sourdough starter
- Psyllium gel
- Oil and sweetener (if using)
- Mix thoroughly:
- Dough should be thick and sticky (not kneadable like wheat dough)
- Add small amounts of water if too dry
PART 5: First Fermentation (Bulk Rise)
- Cover bowl with cloth or lid
- Let rise at room temperature for 6–10 hours
Signs It’s Ready:
- Slightly risen (not doubled like wheat dough)
- Air pockets visible
- Slight sour smell
PART 6: Shaping
Since gluten-free dough is fragile:
- Line a loaf pan with parchment paper
- Transfer dough into pan
- Smooth top with wet hands
- Optional: sprinkle seeds on top
PART 7: Second Rise (Proofing)
- Cover loosely
- Let rise 2–4 hours
Ready when:
- Slightly puffed
- Surface shows small cracks or bubbles
PART 8: Baking
Preheat
- Oven to 220°C (428°F)
Bake
- Place loaf in oven
- Bake:
- 20 minutes at 220°C
- Then reduce to 190°C (375°F)
- Bake another 40–50 minutes
Optional (for crust):
- Place a tray of water in oven for steam
PART 9: Cooling (Very Important)
- Remove from pan immediately
- Cool on wire rack for at least 3–4 hours
- Do NOT slice while hot (texture will be gummy)
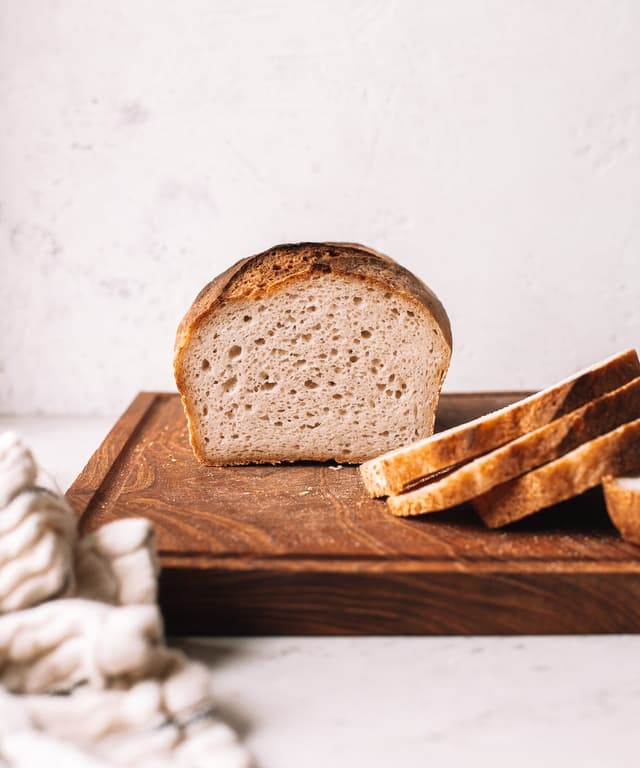
Texture Notes
Gluten-free sourdough:
- Will be denser than wheat sourdough
- Slightly moist crumb
- Mild tangy flavor
Troubleshooting
Bread Too Dense
- Starter not active enough
- Dough too dry
- Not enough fermentation time
Bread Too Gummy
- Underbaked
- Sliced too early
- Too much water
Bread Didn’t Rise
- Cold environment
- Weak starter
- Too little hydration
Storage
- Store at room temperature for 1–2 days
- Refrigerate up to 5 days
- Freeze slices for longer storage
Optional Variations
You can add:
- Seeds (sunflower, flax, sesame)
- Herbs (rosemary, thyme)
- Garlic powder or spices


