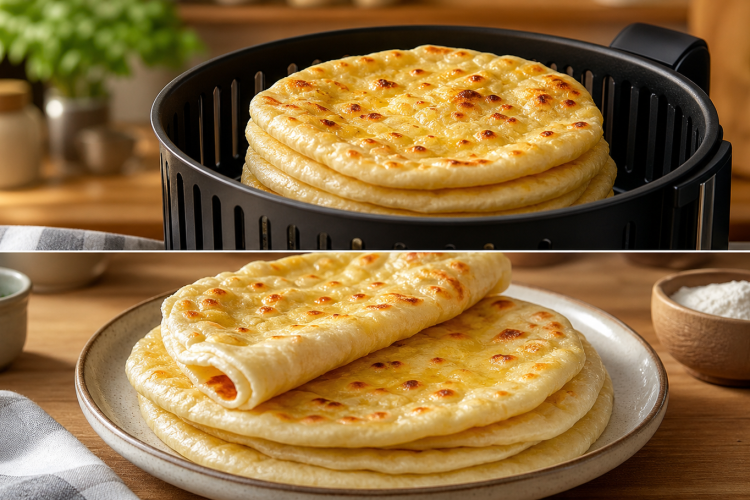
Air fryer Turkish bread has quickly become a favorite among home bakers searching for easy homemade flatbread recipes that deliver bakery-quality results. This soft and fluffy Turkish flatbread stands out for its light texture, golden crust, and signature patterned top. Using an air fryer not only reduces cooking time but also creates a beautifully crisp exterior while keeping the inside tender and airy. Many people look for quick bread recipes that don’t compromise on taste, and this method offers the perfect balance of convenience and authenticity.
Understanding Traditional Turkish Flatbread Texture
- Authentic Turkish bread is known for its pillowy interior and slightly chewy bite, making it ideal for a wide range of meals. Unlike dense homemade breads, this version focuses on achieving a soft crumb through proper dough hydration and gluten development. The goal is to create a dough that feels slightly sticky yet manageable, which ensures a light and airy structure once baked. This is one of the key secrets behind achieving that classic bakery-style flatbread texture at home.
Why Use an Air Fryer for Bread Baking
- Air fryer bread recipes have gained popularity because they are energy-efficient and faster than conventional ovens. The circulating hot air allows even cooking, giving the bread a consistent golden color without drying it out. For those searching for easy air fryer recipes, this method simplifies the bread-making process while still delivering excellent results. It is especially helpful for small kitchens or when you want fresh bread without heating a large oven.
Key Ingredients for Soft and Fluffy Flatbread
- The ingredients used in this recipe are simple pantry staples, yet each plays an important role in the final result. All-purpose flour provides structure, while instant yeast ensures a reliable rise. Warm water activates the yeast and helps form the dough, and olive oil adds moisture and richness. A small amount of sugar supports yeast activation, and salt enhances flavor. The topping, made from egg yolk and yogurt or milk, creates that signature golden finish often seen in traditional Turkish bakery bread.
The Importance of Activating Yeast Properly
- One of the most critical steps in making homemade bread is ensuring the yeast is active. When mixed with warm water and sugar, the yeast begins to foam, indicating that it is alive and ready to ferment the dough. This step is essential for achieving a good rise and soft texture. Skipping or rushing this stage can lead to dense or flat bread, which is a common issue in beginner bread recipes.
Mixing Dough for Perfect Hydration
- Proper dough mixing is essential for creating soft air fryer flatbread. Gradually adding flour helps control the consistency, ensuring the dough remains slightly sticky rather than dry. This hydration level allows the gluten to develop properly, resulting in a light and airy texture. Many quick bread recipes fail because too much flour is added, making the dough stiff. Keeping the dough soft is key to achieving authentic Turkish bread results.
Kneading Techniques for Gluten Development
- Kneading is where the dough transforms from rough to smooth and elastic. This step builds gluten, which gives the bread its structure and chewiness. A consistent kneading motion helps develop elasticity, allowing the dough to stretch without tearing. The windowpane test is a reliable way to check if the dough is ready. When the dough can stretch thin enough to let light pass through, it indicates proper gluten development, which is essential for soft and fluffy bread.
First Rise and Its Role in Bread Structure
- The first rise, also known as bulk fermentation, allows the dough to expand and develop flavor. During this stage, yeast produces gas that creates air pockets within the dough. This is what gives Turkish flatbread its signature airy interior. Keeping the dough in a warm environment helps it rise evenly. Skipping or shortening this step can result in dense bread that lacks the desired softness.
Shaping Turkish Flatbread Correctly
- Shaping plays a crucial role in the final appearance and texture of the bread. The dough should be gently flattened into a round or oval shape while maintaining some thickness. This ensures the bread remains soft inside after cooking. Over-flattening can lead to a dry or overly crisp result, which is not typical for traditional Turkish bread.
Final Proofing for Light and Airy Results
- The second rise, or final proof, allows the shaped dough to relax and expand slightly before cooking. This step enhances the bread’s texture, making it lighter and more tender. Proper proofing ensures that the bread does not collapse during cooking and maintains a balanced structure. Timing is important, as over-proofing can weaken the dough.
Creating the Classic Turkish Bread Pattern
- One of the defining features of Turkish bread is its decorative top pattern. This is created by gently pressing the dough with fingertips before baking. The pattern is not only visually appealing but also helps the bread cook evenly. Brushing the surface with an egg yolk mixture adds shine and promotes a golden crust, making the bread look as good as it tastes.
Air Fryer Cooking Techniques for Perfect Bread
- Cooking bread in an air fryer requires attention to temperature and timing. Starting at a slightly higher temperature helps the bread rise, while reducing the heat ensures it cooks through without burning. Covering the top with foil if it browns too quickly is a useful technique. These adjustments make air fryer baking accessible even for beginners.
How to Check If Your Bread Is Fully Cooked
- Knowing when your bread is done is essential for achieving the perfect texture. A golden-brown crust and a hollow sound when tapped are reliable indicators. Checking the internal temperature provides additional accuracy. Properly cooked bread will have a soft interior without being doughy or dense.
Cooling Bread for Best Texture
- Allowing bread to cool before slicing is often overlooked but very important. During cooling, the internal structure sets, and moisture redistributes evenly. Cutting too early can release steam, leading to a gummy texture. Patience during this step ensures the best possible results.
Serving Ideas for Turkish Flatbread
- This homemade Turkish bread is incredibly versatile and pairs well with a variety of dishes. It can be served with soups, grilled meats, or dips like hummus and yogurt-based sauces. It also works well as sandwich bread or simply enjoyed with butter or honey. Its mild flavor makes it suitable for both savory and slightly sweet combinations.
Notes: Tips for Best Results
- For soft and fluffy bread, keep the dough slightly sticky and avoid adding too much flour. Always preheat the air fryer to ensure even cooking. If the bread browns too quickly, cover it loosely with foil. Allow the bread to cool completely before slicing to maintain its texture. Fresh bread tastes best on the same day but can be reheated for later use.
Notes: Storage and Reheating
- Store the bread in an airtight container at room temperature for short-term use. For longer storage, refrigeration works well, though reheating is recommended to restore softness. The air fryer can be used again to gently warm the bread, making it taste fresh.
Notes: Frequently Asked Questions
- This dough can be prepared ahead of time and refrigerated after the first rise, making it convenient for busy schedules. The bread can also be frozen once baked and cooled, allowing for longer storage. If the bread turns out dense, it is usually due to inactive yeast, insufficient kneading, or improper proofing. Whole wheat flour can be used, but mixing it with all-purpose flour gives better texture. The recipe can also be adapted for oven baking if an air fryer is not available.
Air fryer turkish bread
 Recipe by admin1
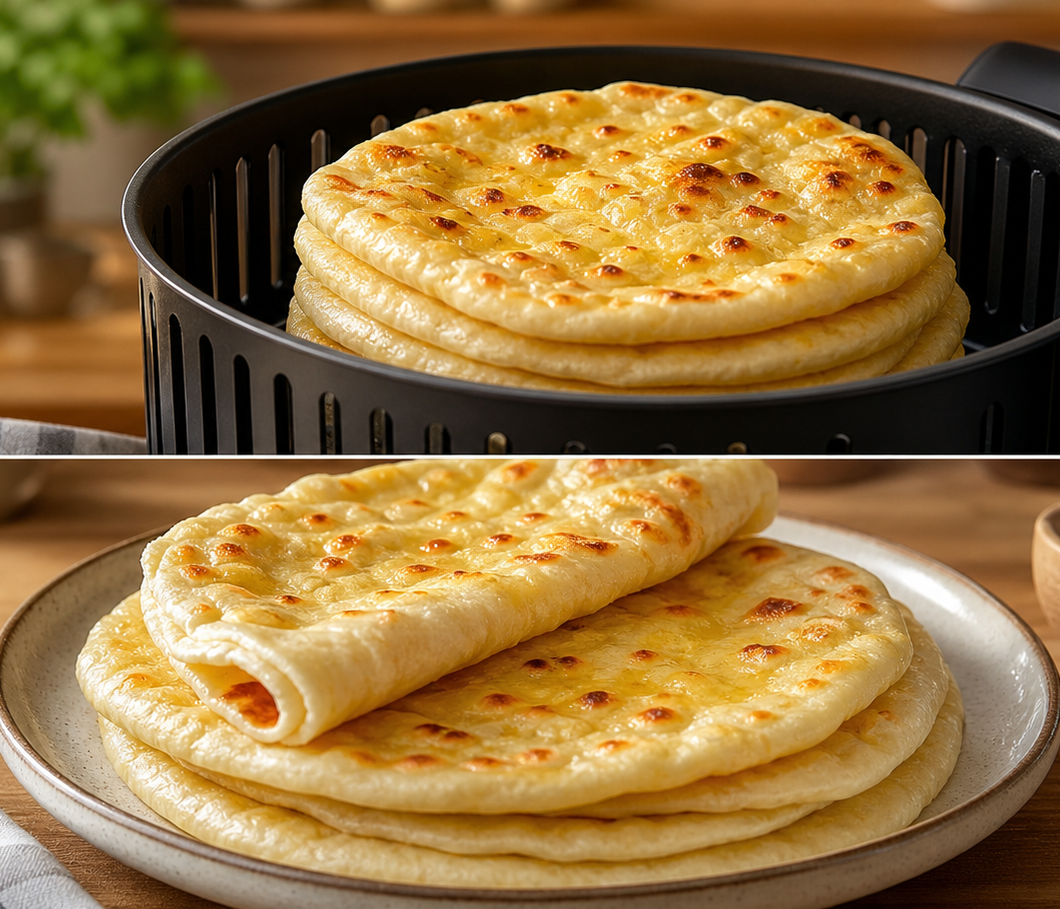
A soft, airy, and golden Turkish-style flatbread made easily in an air fryer. This homemade bread features a light texture, classic patterned top, and rich flavor, perfect for serving with a variety of dishes.
20
minutes20
minutes1
30
minutes2
hours10
minutesIngredients
All-purpose flour: 3 cups (approximately 360 grams)
Instant yeast: 2 teaspoons
Granulated sugar: 1 teaspoon
Salt: 1 teaspoon
Warm water (40–43°C): 1 cup
Olive oil: 2 tablespoons
Egg yolk: 1
Yogurt or milk: 1 tablespoon
Sesame seeds or nigella seeds: optional for topping
Directions
- In a mixing bowl, combine warm water, sugar, and yeast. Let it sit for 5–10 minutes until foamy. Add olive oil and mix gently.
- Gradually incorporate flour, adding salt after the first portion of flour. Mix until a soft dough forms. Transfer the dough to a floured surface and knead for 8–10 minutes until smooth and elastic.
- Place the dough in a lightly oiled bowl, cover, and let it rise for 60–90 minutes until doubled in size. Punch down the dough and shape it into a round or oval flatbread about 1.5–2 cm thick.
- Place on parchment paper and let it rest for 20–30 minutes. Mix egg yolk with yogurt or milk and brush over the dough. Create a pattern using your fingertips and sprinkle seeds if desired.
- Preheat the air fryer to 170°C (340°F) for 5 minutes. Cook the bread for 10 minutes, then reduce temperature to 160°C (320°F) and cook for another 8–12 minutes.
- Remove and cool on a wire rack for at least 20 minutes before slicing.
Notes
- Use warm water (not hot)—about 38–43°C (100–110°F)—to help the yeast activate.
- If the dough feels sticky, add 1 tablespoon of flour at a time. If it’s dry, add 1 teaspoon of water at a time.
- Don’t make the loaf too thick; 2–2.5 cm (¾–1 inch) cooks evenly in the air fryer.
- Air fryer models vary, so check the bread after 10–12 minutes. Add 1–3 more minutes if needed.
- The bread is done when it’s golden brown and sounds hollow when tapped on the bottom.
- Let it cool for 10 minutes before slicing to keep the crumb soft.
- Store in an airtight container for 2 days at room temperature, or freeze for up to 2 months. Reheat in the air fryer at 160°C (320°F) for 2–3 minutes.
Nutrition Facts
- Calories: 250kcal
- Fat: 4g
- Sodium: 451mg
- Carbohydrates: 48g
- Fiber: 1.5g
- Protein: 7g


