Homemade Irish Cream Liqueur – Smooth, Creamy, and Richly Flavored
A Homemade Irish Cream That Comes Together with Simple Ingredients
Making Irish cream at home is a rewarding process because it allows every ingredient to contribute naturally to the finished drink. Instead of relying on artificial flavors or preservatives, this recipe uses a combination of Irish whiskey, heavy cream, sweetened condensed milk, cocoa, coffee, and vanilla to create a smooth and creamy liqueur with a balanced flavor.
One of the things I enjoy most about preparing this recipe is that it comes together in a short amount of time. Most of the work involves measuring ingredients carefully and blending them gently. After that, the refrigerator does the rest. As the mixture chills, the flavors blend together and the texture becomes smoother and more luxurious.
Although the recipe is simple, paying attention to each ingredient and each mixing step makes a noticeable difference in the final result.
Why Irish Whiskey Is the Best Choice
The foundation of this homemade Irish cream is Irish whiskey. Choosing the right whiskey has a direct effect on the finished flavor.
I always use a smooth Irish whiskey because it has a clean taste that blends well with cream. Irish whiskey is traditionally triple distilled, giving it a softer character than many other whiskies. This smoothness allows the cream, cocoa, and vanilla to remain balanced instead of being overpowered by strong alcohol notes.
Whiskies with heavy smoky or peaty flavors are best avoided for this recipe. Those flavors compete with the creamy ingredients and make the drink taste less balanced.
A gentle Irish whiskey creates a finished liqueur that is rich, mellow, and easy to enjoy.
Heavy Cream Creates the Signature Texture
Heavy cream is another ingredient that should not be substituted. Its high fat content creates the rich mouthfeel that homemade Irish cream is known for.
Using heavy cream with around 36 to 40 percent fat produces a smooth consistency that stays stable after blending. Lower-fat dairy products, such as milk or half-and-half, separate much more easily and create a thinner texture.
The cream also softens the whiskey, making every sip smooth without reducing its flavor.
Because of its richness, the finished drink feels creamy without becoming overly thick.
The Importance of Sweetened Condensed Milk
Sweetened condensed milk serves several purposes in this recipe.
First, it provides the sweetness that balances the whiskey and cocoa. It also gives the liqueur its thick body, helping create a texture similar to commercial Irish cream.
Another important role is stabilization. The condensed milk helps keep the ingredients blended together during storage.
Without it, the mixture would be much thinner and would separate more quickly.
Its rich consistency is one of the reasons this homemade version develops such a smooth finish after chilling.
Cocoa Adds Chocolate Depth
Chocolate is only a background flavor in Irish cream, so the cocoa should enhance the drink without overpowering it.
Unsweetened cocoa powder provides gentle richness and a subtle chocolate note that blends naturally into the cream.
Dutch-process cocoa is especially good because it has a smoother flavor and mixes well with the other ingredients.
Hot chocolate powder should not be substituted because it already contains sugar and additional ingredients that can affect both flavor and texture.
The cocoa should simply support the whiskey and cream rather than becoming the dominant flavor.
Coffee Brings Balance
Although coffee is only used in a small amount, it plays an important role in balancing the sweetness.
Instant coffee granules provide a slight bitterness that keeps the finished drink from becoming overly sweet.
They also strengthen the chocolate flavor without making the drink taste like coffee.
Many people are surprised to discover that coffee is present because it blends so naturally into the background.
Instead of standing out, it quietly deepens the overall flavor.
Vanilla Adds Warmth
Vanilla extract rounds out the flavor by adding warmth and sweetness.
A good-quality pure vanilla extract creates a smoother, richer finish than imitation vanilla.
Its role is not to become the strongest flavor but to connect the chocolate, coffee, cream, and whiskey into one balanced mixture.
Even though only a small amount is used, it noticeably improves the final taste.
Almond Extract Creates a Professional Flavor
Almond extract is optional, but I like including it because it gives the finished liqueur a gentle nutty background similar to traditional Irish cream.
Only a very small amount is needed.
Almond extract is naturally concentrated, so using too much can easily overpower the drink.
When used carefully, however, it creates extra depth without making the almond flavor obvious.
Most people notice the finished drink tastes more complete without immediately identifying why.
Optional Ingredients That Improve the Recipe
Food-grade glycerin is another optional ingredient that can improve the finished texture.
It creates an even silkier mouthfeel while also helping the liqueur remain smooth during storage.
Although the recipe works well without it, glycerin gives the drink a slightly more professional finish.
Honey or maple syrup can also be included if a deeper sweetness is preferred.
Both ingredients introduce subtle flavor complexity while maintaining the creamy consistency.
If reducing the amount of condensed milk slightly, either honey or maple syrup helps maintain sweetness while adding another layer of flavor.
Equipment That Makes Preparation Easier
The equipment needed for this recipe is simple and commonly available.
A high-speed blender is the easiest option because it combines the ingredients quickly while creating a smooth texture. An immersion blender can also be used with good results.
A fine mesh sieve is optional but useful if any small cocoa particles remain after blending.
A funnel makes transferring the finished liqueur into bottles much easier and helps prevent spills.
Clean glass bottles with tight-fitting lids are ideal for storage because they help preserve freshness in the refrigerator.
Measuring cups and spoons ensure the ingredients remain balanced, while a rubber spatula helps scrape every bit of mixture from the blender.
Preparing the Cocoa Mixture
The first step focuses on dissolving the dry ingredients completely.
A small amount of whiskey is poured into a bowl before adding the cocoa powder and instant coffee.
Whisking thoroughly at this stage is important because cocoa dissolves much better in alcohol than in cream.
Taking an extra minute here prevents small cocoa lumps from remaining in the finished drink.
The mixture gradually becomes smooth, dark, and glossy as the cocoa and coffee dissolve.
Creating this smooth concentrate early makes the final blending process much easier.
Building the Cream Base
While the cocoa mixture rests, the blender is prepared.
Sweetened condensed milk, heavy cream, vanilla extract, almond extract if using, and honey or maple syrup if included are added to the blender.
These ingredients are blended gently for only a short time.
The goal is simply to combine them into a smooth mixture rather than whip air into the cream.
Keeping the blending gentle helps preserve the rich texture that makes homemade Irish cream so enjoyable.
The result is a creamy base that is ready for the chocolate and whiskey to be added in the next stage.
Part 1B: Homemade Irish Cream Liqueur – Blending, Bottling, and Serving
Adding the Chocolate Concentrate
Once the cream base is smooth, the cocoa and coffee mixture is ready to be added. Since it has already been whisked thoroughly with a portion of the whiskey, it blends into the cream much more easily than if the dry ingredients had been added directly.
I slowly pour the chocolate concentrate into the blender and blend everything on low speed for about 20 seconds. This gives the cocoa enough time to distribute evenly throughout the mixture without creating excess air.
If I notice any cocoa sticking to the sides of the blender, I stop briefly and scrape everything down with a rubber spatula. This simple step ensures every ingredient becomes fully incorporated and prevents any dry particles from remaining in the finished liqueur.
At this stage, the mixture begins to develop its familiar light chocolate color and smooth appearance.
Adding the Remaining Irish Whiskey
The remaining whiskey is added gradually rather than all at once. Pouring it in slowly while the blender runs on low speed helps it combine evenly with the cream mixture.
This slow addition also keeps the texture stable. Adding everything too quickly can sometimes make the mixture blend unevenly.
Once all the whiskey has been added, I continue blending for another 30 seconds. This is usually enough time for everything to become perfectly smooth.
One important detail is avoiding over-blending. While it may seem like blending longer would improve the mixture, it actually introduces unnecessary air into the cream. Too much air can slightly thin the texture and reduce the rich mouthfeel that makes homemade Irish cream enjoyable.
Stopping as soon as everything is combined gives the best consistency.
Checking the Texture
Before bottling, I always take a moment to check the finished mixture.
The Irish cream should be thick enough to coat a spoon lightly while still pouring smoothly from the blender. It should have a glossy appearance with no visible cocoa particles floating on the surface.
If I notice any small grainy bits of cocoa, I blend for another 10 seconds. Usually, this is enough to smooth everything completely.
If the mixture still contains tiny particles, pouring it through a fine mesh sieve removes them easily and creates an even silkier finish.
Although straining is optional, it produces a particularly smooth homemade liqueur that pours beautifully.
Preparing the Bottles
Once the texture looks smooth, the Irish cream is ready for bottling.
I always make sure the glass bottles are completely clean and dry before filling them. Using a funnel makes this process much easier and helps prevent spills around the bottle opening.
The mixture is poured slowly into each bottle until filled, leaving just a little space at the top before sealing with a tight-fitting lid.
Glass bottles are ideal because they help preserve freshness and do not affect the flavor during refrigeration.
Properly sealed bottles also make the homemade liqueur easy to store and pour whenever needed.
Why Resting Is So Important
Although the Irish cream is technically ready as soon as it is blended, I never serve it immediately.
Instead, I refrigerate it for at least 12 hours. During this resting period, the ingredients settle together and the flavors become much more balanced.
The whiskey softens, the chocolate blends into the cream, and the vanilla becomes more noticeable without overpowering the drink.
After about 24 to 48 hours, the difference becomes even more noticeable. The texture feels smoother, and every ingredient works together naturally instead of tasting separate.
Waiting a little longer is rewarded with a much richer and more refined flavor.
The Flavor After Chilling
One of my favorite parts of making homemade Irish cream is tasting it after it has rested overnight.
The first sip is creamy and smooth, followed by gentle sweetness from the condensed milk. The cocoa provides a light chocolate background, while the coffee quietly balances the sweetness without tasting like coffee itself.
The vanilla adds warmth, and if almond extract was included, it contributes a subtle nutty finish that resembles traditional Irish cream liqueurs.
None of the individual flavors dominate. Instead, they combine into one smooth, balanced drink.
Adjusting Sweetness Naturally
Some people enjoy a sweeter Irish cream, while others prefer a slightly less sweet finish.
If I reduce the amount of condensed milk slightly, I like adding a small amount of honey or maple syrup. Either option provides sweetness while introducing a little extra complexity.
Honey contributes gentle floral notes, while maple syrup adds a deeper caramel-like flavor.
These adjustments remain subtle and do not overpower the whiskey or cream.
Why Gentle Blending Matters
Throughout the preparation, gentle blending is more important than high speed.
The goal is simply to combine the ingredients, not whip them.
Over-blending traps air bubbles inside the cream, making the finished liqueur lighter than intended. Gentle blending keeps the texture silky and helps preserve the rich mouthfeel.
Short blending times also reduce heat buildup inside the blender, which helps maintain the fresh dairy flavor.
These small details create a noticeable difference in the final result.
Serving Homemade Irish Cream
Once properly chilled, the Irish cream is ready to enjoy.
I like serving it straight from the refrigerator because the cold temperature makes the texture even creamier.
It can be poured into small glasses and enjoyed on its own, or used in a variety of drinks and desserts.
Its smooth consistency also makes it suitable for pouring over ice if a colder serving is preferred.
No matter how it is is served, the creamy texture remains the highlight of the drink.
Storage Tips
Since this recipe contains fresh dairy, refrigeration is essential.
The bottles should remain tightly sealed whenever they are not being used. Before serving, I gently shake the bottle because natural separation may occur during storage.
This light shake quickly restores the smooth consistency without affecting the flavor.
Keeping the bottles cold also helps preserve the creamy texture for longer.
Small Details That Improve the Final Result
Several small habits make this recipe even better.
Taking time to dissolve the cocoa completely prevents graininess.
Using heavy cream instead of lower-fat dairy creates the proper rich consistency.
Adding the whiskey gradually helps maintain a smooth emulsion.
Avoiding excessive blending keeps the texture thick and silky.
Finally, allowing the mixture to rest for at least one full day produces a much more balanced flavor than serving it immediately.
None of these steps are difficult, but together they make a noticeable improvement.
A Homemade Irish Cream Worth Making Again
This homemade Irish cream is one of those recipes that feels rewarding from start to finish. The ingredient list is straightforward, the preparation is uncomplicated, and the finished drink develops beautifully after a little patience.
Every ingredient contributes something important. The Irish whiskey provides smooth character, the heavy cream creates richness, the sweetened condensed milk gives body and sweetness, while cocoa, coffee, vanilla, and the optional flavor enhancers add depth without overpowering the drink.
After resting in the refrigerator, the flavors become fully blended into a creamy liqueur with a smooth texture and balanced sweetness. It pours easily, tastes rich without being heavy, and offers a homemade alternative that feels both familiar and satisfying.
Because the preparation is simple and the results are consistently enjoyable, this is a recipe I like making whenever I want a homemade Irish cream that is smooth, creamy, and full of well-balanced flavor. Recipe Card – Homemade Irish Cream Liqueur
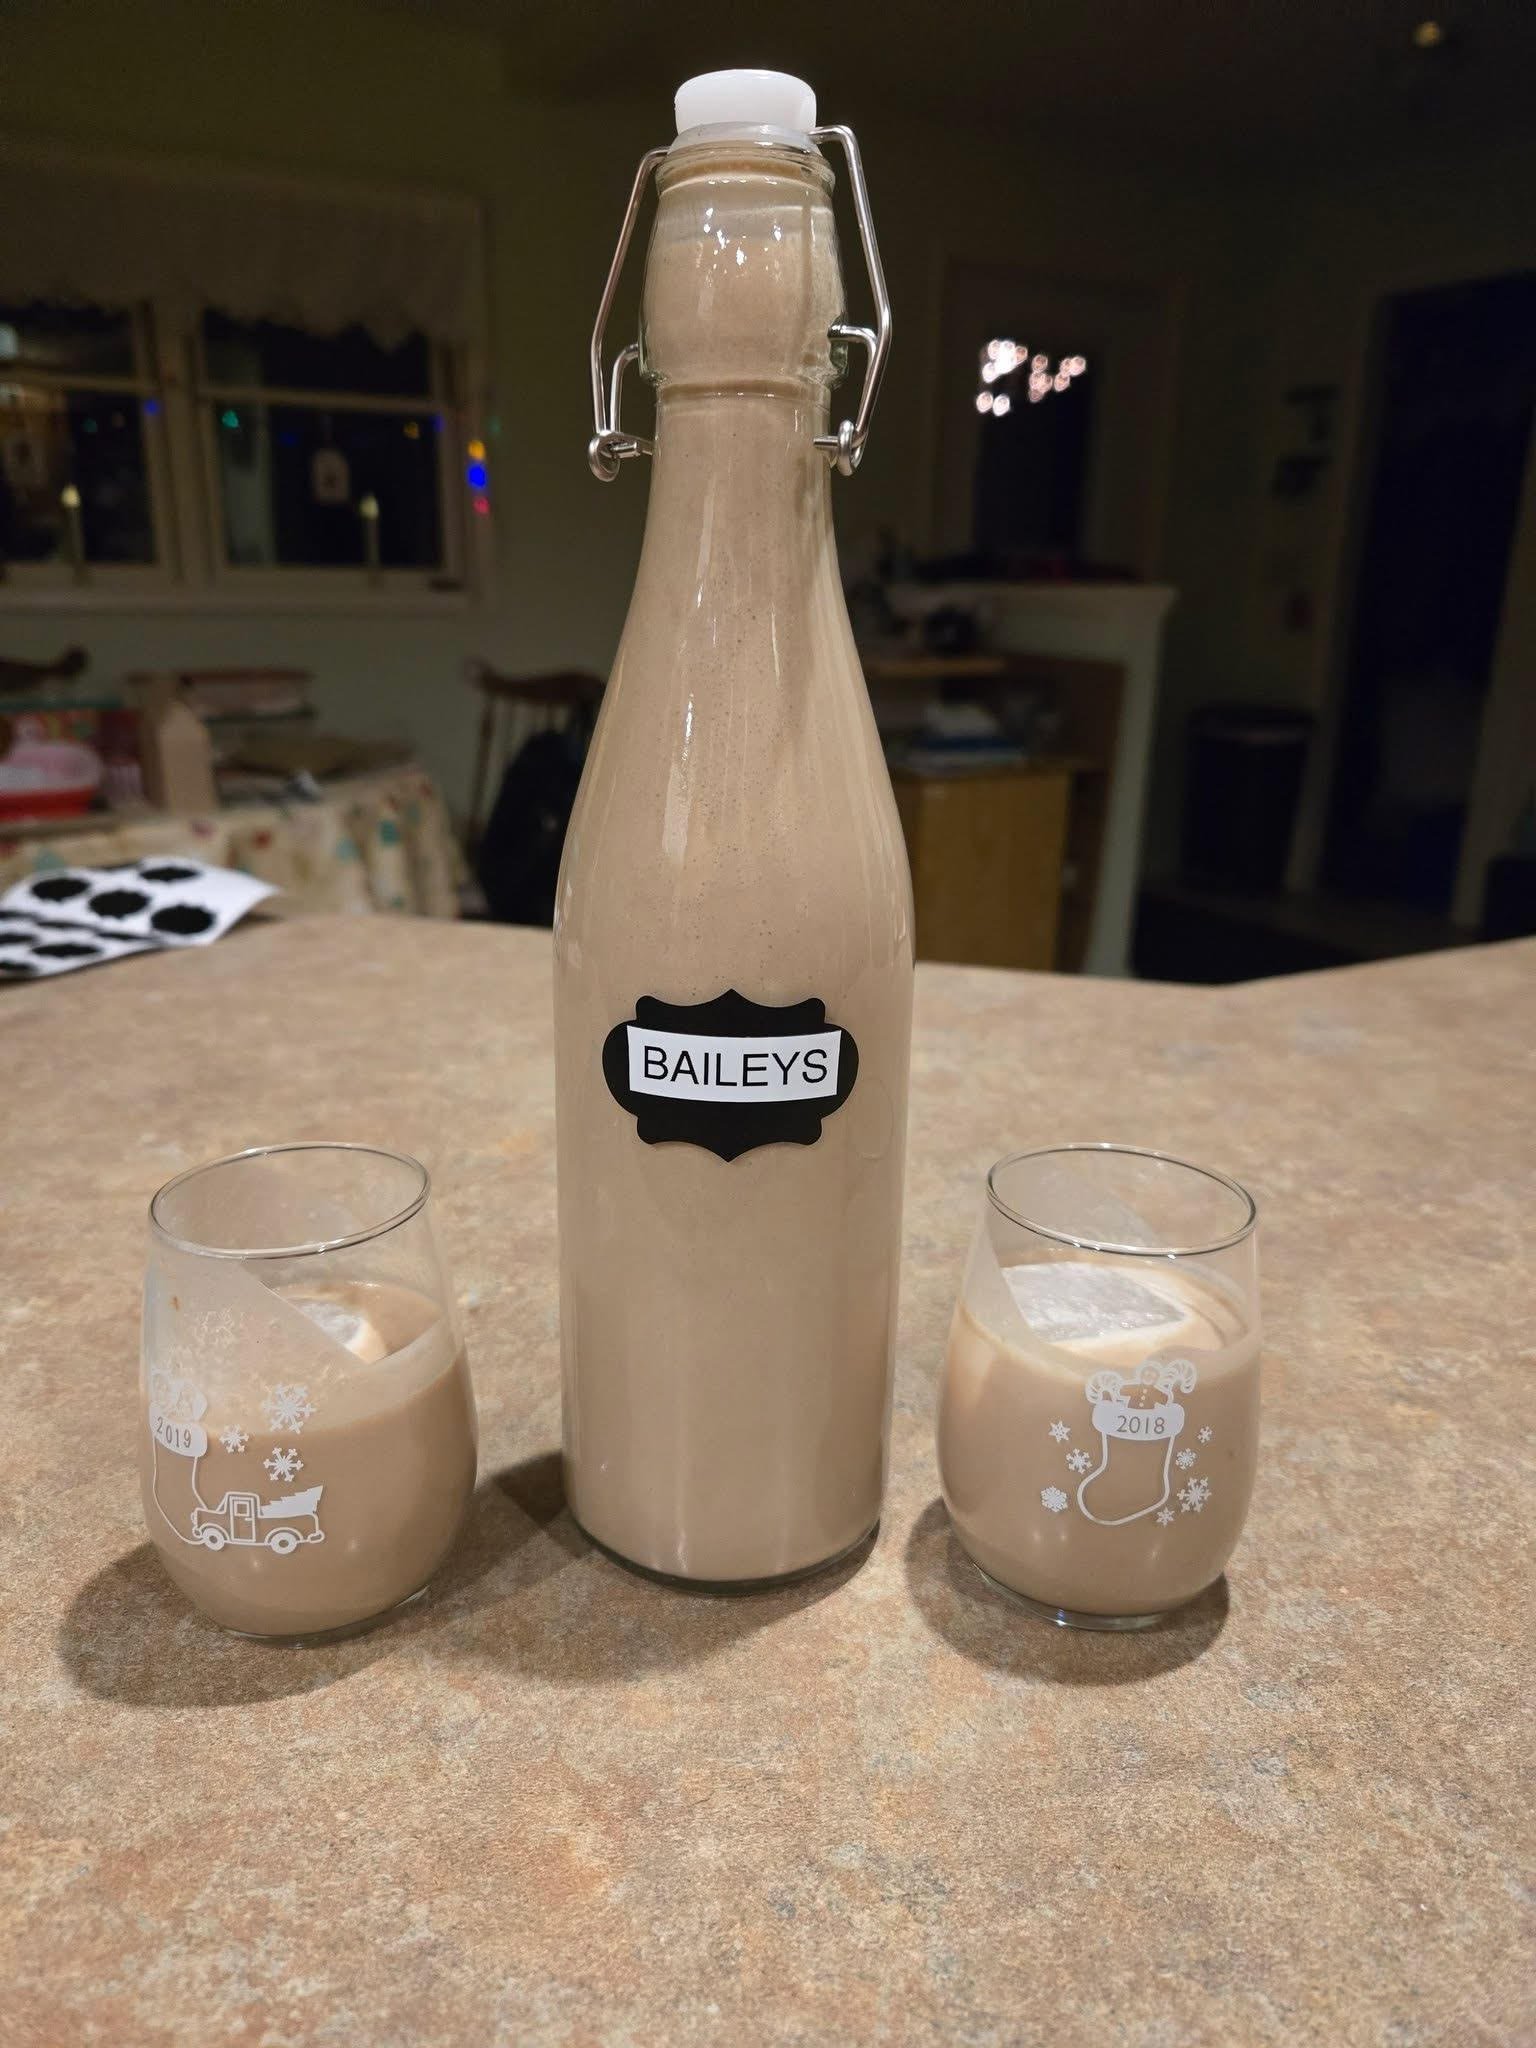
Baileys Irish Cream
A smooth and creamy homemade Irish cream liqueur made with Irish whiskey, heavy cream, sweetened condensed milk, cocoa, coffee, and vanilla. Rich, silky, and well balanced, it develops its best flavor after resting in the refrigerator for 24 to 48 hours.
4
servings15
minutes5
minutes171
kcal1
hour10
minutesIngredients
1 cup (240 ml) Irish whiskey
1 cup (240 ml) heavy cream
1 can (14 oz / 396 g) sweetened condensed milk
Directions
- Pour ¼ cup of the Irish whiskey into a small bowl.
- Add the cocoa powder and instant coffee granules.
- Whisk until completely smooth and dissolved.
- Add the sweetened condensed milk, heavy cream, vanilla extract, almond extract (if using), and honey or maple syrup (if using) to a blender.
- Blend on low speed for 10–15 seconds until combined.
- Add the cocoa and coffee mixture to the blender and blend for 20 seconds.
- Scrape down the sides of the blender if necessary.
- Slowly pour in the remaining Irish whiskey while blending on low speed.
- Blend for another 30 seconds. Avoid over-blending.
- Check the texture. If needed, blend for another 10 seconds or strain through a fine mesh sieve.
- Using a funnel, pour the finished liqueur into clean glass bottles.
- Seal tightly and refrigerate for at least 12 hours before serving.
- For the best flavor and texture, allow the liqueur to rest for 24–48 hours before enjoying.
Notes
- Use only heavy cream for the proper creamy consistency.
Irish whiskey provides the smoothest flavor for this recipe.
Dissolving the cocoa and coffee first helps prevent graininess.
Blend gently to avoid incorporating excess air.
Shake the bottle gently before serving if slight separation occurs during storage.
The flavor becomes noticeably smoother after one to two days of refrigeration.
Store refrigerated in tightly sealed glass bottles.


