Important Explanation
Regular yogurt contains natural milk sugars (lactose), which increase carbohydrate count. To achieve zero or near-zero net carbs, you must use:
- Ultra-filtered yogurt
- Plain
- Unsweetened
- Labelled “zero carb” or “0g net carbs”
If your yogurt contains even 2–3 grams of carbs per serving, the bread will still be very low-carb, but not strictly zero.
Yield and Portion Guidance
- Makes 1 small loaf
- 8–10 slices depending on thickness
- Recommended portion: 1 slice per meal
Ingredients (Exact and Simple)
Core Ingredients
- Zero-carb plain yogurt – 1 cup
- Eggs – 3 large, room temperature
- Baking powder – 1 teaspoon
- Salt – ¼ teaspoon
- Apple cider vinegar or lemon juice – 1 teaspoon
Structure and Texture (Highly Recommended)
- Psyllium husk powder – 1 tablespoon
Optional Flavor Add-Ins (Still Low or Zero Carb)
- Garlic powder – ¼ teaspoon
- Dried oregano or rosemary – ¼ teaspoon
- Sesame seeds or poppy seeds – 1 tablespoon for topping
Equipment Needed
- Mixing bowl
- Whisk
- Measuring cups and spoons
- Loaf tin (8 × 4 inches)
- Baking paper
- Oven
Step-by-Step Preparation
Step 1: Oven and Tin Preparation
- Preheat oven to 180°C (350°F).
- Line the loaf tin with baking paper.
- Lightly grease if needed to prevent sticking.
This step ensures even baking and easy removal.
Step 2: Egg Preparation
- Crack eggs into a clean bowl.
- Whisk thoroughly until yolks and whites are fully combined.
- Whisking adds air and improves bread texture.
Step 3: Yogurt Integration
- Add zero-carb yogurt to the eggs.
- Whisk until completely smooth.
- The mixture should be thick but pourable.
Step 4: Add Leavening and Acid
- Add baking powder.
- Add salt.
- Add apple cider vinegar or lemon juice.
The acid reacts with baking powder, helping the bread rise without flour.
Step 5: Add Psyllium Husk
- Sprinkle psyllium husk powder evenly into the batter.
- Stir gently but thoroughly.
- Let the batter rest for 2–3 minutes.
Psyllium absorbs moisture and creates a bread-like structure.
Step 6: Final Batter Check
- Batter should be thick but spreadable.
- If too thick, add 1 tablespoon water.
- If too thin, wait 1 more minute for psyllium to thicken.
Step 7: Pour and Shape
- Pour batter into prepared loaf tin.
- Smooth the top with a spatula.
- Sprinkle seeds if using.
Step 8: Baking
- Place tin on middle rack.
- Bake for 35–40 minutes.
- Do not open oven before 30 minutes.
Bread is done when:
- Top is firm
- Lightly golden
- Toothpick inserted comes out clean
Step 9: Cooling (Very Important)
- Remove from oven.
- Leave in tin for 10 minutes.
- Transfer to wire rack.
- Cool completely before slicing.
Cutting too early will cause gumminess.
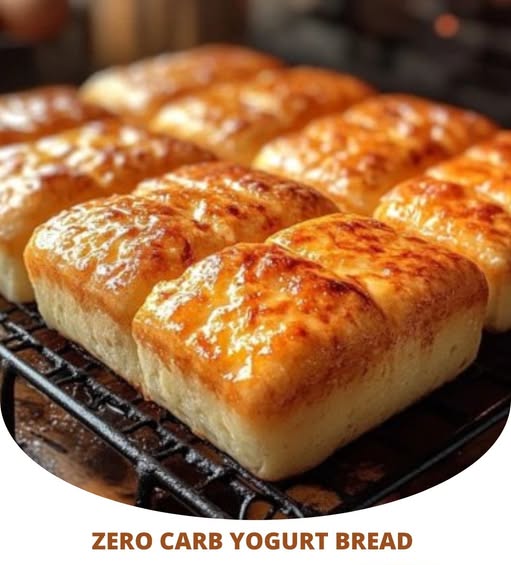
Texture and Taste Description
- Soft interior
- Lightly elastic crumb
- Mild yogurt flavor
- Best when toasted
This bread does not taste like white bread but works excellently for low-carb meals.
Storage Instructions
Refrigerator
- Store in airtight container
- Keeps fresh for 5 days
Freezer
- Slice before freezing
- Store up to 2 months
- Toast directly from frozen
Serving Suggestions
- Toasted with butter
- With avocado and eggs
- Sandwich bread for chicken or tuna
- With cheese or sugar-free spreads
Diabetic Safety Notes
- No added sugar
- No flour
- No starch
- Very low glycaemic response
- Safe when eaten in controlled portions
Always monitor personal blood glucose response.


