Ingredients
Butter Base
- 225 g unsalted butter, very soft but not melted
(European-style butter strongly recommended)
Butter quality matters more here than in almost any other cookie.
Sweeteners
- 100 g powdered (icing) sugar
- 25 g granulated sugar
Powdered sugar creates tenderness; granulated sugar adds structure.
Eggs & Flavoring
- 1 large egg, at room temperature
- 1 teaspoon vanilla extract
- 1/4 teaspoon almond extract (optional but traditional)
Dry Ingredients
- 275 g all-purpose flour
- 1/4 teaspoon fine salt
Optional Decorations
- Coarse sugar
- Melted dark or milk chocolate
- Candied cherries
- Sliced almonds
Equipment Needed
- Stand mixer or hand mixer
- Mixing bowls
- Rubber spatula
- Large piping bag
- Large star piping tip (open or closed star)
- Baking sheets
- Parchment paper
- Cooling rack
Part 1: Preparing the Butter
Step 1: Softening the Butter
Butter must be:
- Soft enough to press easily with a finger
- Cool enough to hold structure
If butter is too cold, dough will not pipe.
If butter is melted, cookies will spread.
Ideal temperature: 18–20°C
Part 2: Mixing the Dough
Step 1: Creaming the Butter and Sugars
- Place butter in mixing bowl.
- Add powdered sugar and granulated sugar.
- Beat on medium speed for 2–3 minutes until pale and smooth.
Do not overbeat. Excess air causes cookies to lose shape.
Step 2: Adding Egg and Flavorings
- Add egg.
- Beat just until incorporated.
- Add vanilla and almond extract.
- Mix briefly.
Scrape down the bowl to ensure even mixing.
Step 3: Adding Dry Ingredients
- In a separate bowl, whisk flour and salt.
- Add dry ingredients to butter mixture in two additions.
- Mix on low speed until just combined.
The dough should be:
- Soft
- Smooth
- Pipeable
- Not sticky
Part 3: Preparing to Pipe
Step 1: Filling the Piping Bag
- Fit piping bag with star tip.
- Fill bag halfway with dough.
- Twist the top tightly.
Do not overfill; pressure control is essential.
Step 2: Chilling Decision
If dough feels:
- Too soft → chill for 10 minutes
- Too stiff → allow to warm slightly
Correct consistency prevents breakage and fatigue.
Part 4: Shaping the Cookies
Step 1: Preparing the Trays
- Line baking sheets with parchment.
- Do not grease.
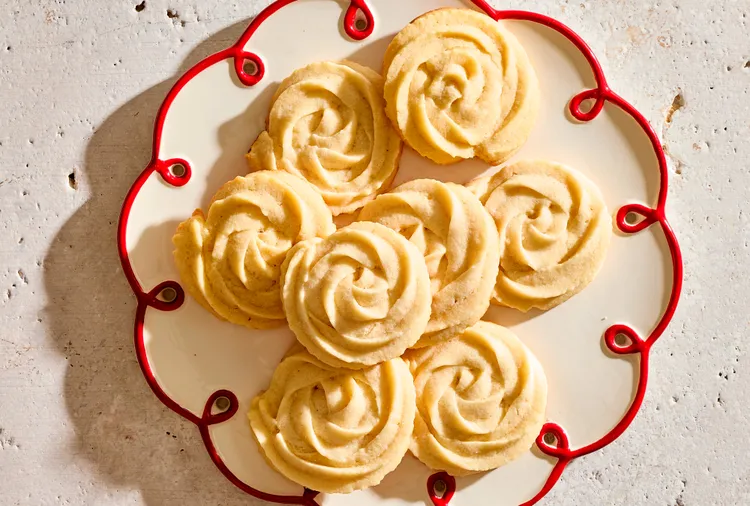
Step 2: Piping
- Hold piping bag vertically.
- Pipe:
- Rings
- Swirls
- S-shapes
Leave 4 cm space between cookies.
Consistency is more important than perfection.
Step 3: Final Chill
Refrigerate piped cookies for 20–30 minutes.
This step is critical to maintain shape during baking.
Part 5: Baking
Step 1: Oven Preparation
Preheat oven to 170°C.
Place rack in the center.
Step 2: Baking Time
- Bake one tray at a time.
- Bake for 12–15 minutes.
Cookies should be:
- Pale golden underneath
- Lightly golden at edges
- Not deeply browned
Overbaking ruins tenderness.
Step 3: Cooling
- Allow cookies to cool on tray for 5 minutes.
- Transfer to cooling rack.
They firm up as they cool.
Part 6: Decorating (Optional)
Chocolate Dipping
- Melt chocolate gently.
- Dip cooled cookies halfway.
- Place on parchment until set.
Sugar or Nut Garnish
- Sprinkle coarse sugar before baking
- Press almonds lightly into dough before chilling
Texture and Flavor Profile
- Crisp edges
- Tender, crumbly center
- Clean butter flavor
- Light sweetness
- Elegant mouthfeel


